Tracking blog traffic can sometimes feel like trying to navigate a maze blindfolded. With so many data points and analytics tools available, it’s easy to get lost. But what if there was a way to simplify things and get clearer insights into where your readers are coming from? Enter UTM parameters — your new best friends in the world of digital marketing. In this guide, we’ll break down what UTM parameters are, why they’re essential and how to use them in tracking your blog traffic like a pro.

What are UTM parameters?
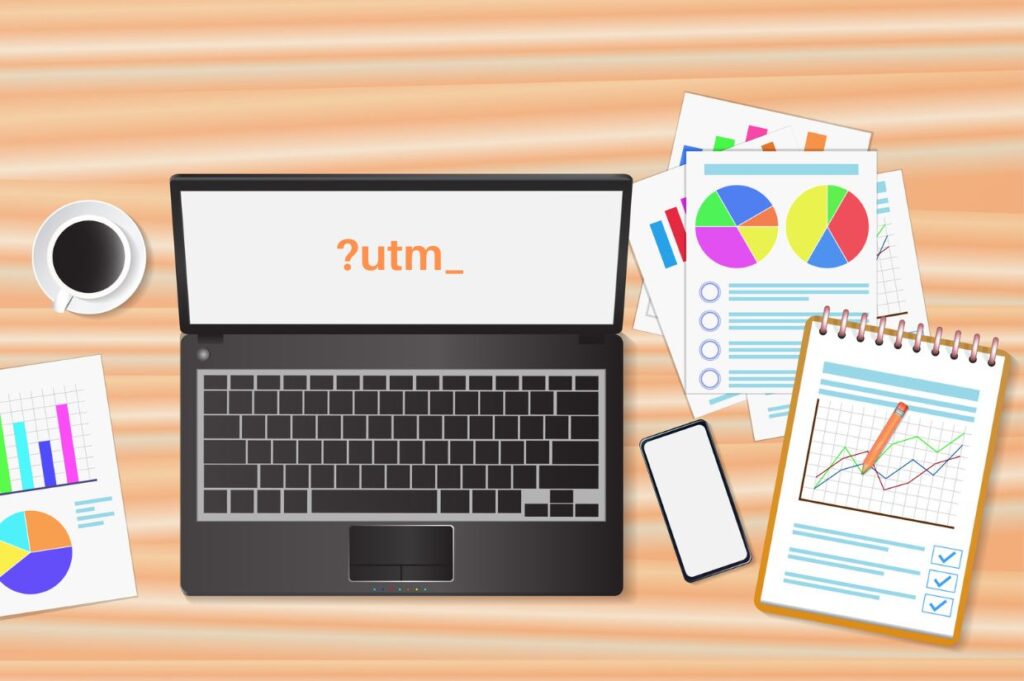
Let’s start with the basics. UTM parameters, or Urchin Tracking Module parameters, are small snippets of text added to the end of a URL. They help you track the performance of your campaigns by providing additional information about the traffic that comes to your site. Think of them as a way to label and categorize your traffic sources, making it easier to analyze the effectiveness of your marketing efforts.
For example, if you’re sharing a blog post on social media, adding UTM parameters to the URL will let you know which social platform drives the most traffic, which specific post or ad performs best and more. This way, you can make data-driven decisions to improve your strategy.
Why use UTM parameters?
You might be wondering, “Why should I bother with UTM parameters? Can’t I just use the analytics tools I already have?” While it’s true that many analytics tools offer valuable insights, UTM parameters give you an extra layer of granularity. They allow you to track individual campaigns and sources accurately, providing a clearer picture of what’s working and what isn’t. They also don’t cost anything except for an extra minute or two to set them up.
Here are a few key reasons to use UTM parameters:
- Granular tracking: See which campaigns, ads or social media posts drive traffic to your blog.
- Improved reporting: Get detailed reports on how different sources perform, making it easier to optimize your strategy.
- Better ROI measurement: Determine which channels give you the best return on investment and adjust your budget accordingly.
How to create UTM parameters
Creating UTM parameters might sound technical but it’s actually quite simple. All you need is a basic understanding of the parameters and a tool to help you generate them. Here are the main UTM parameters you can use.
- utm_source: Identifies the source of your traffic (e.g., Google, Facebook, Newsletter).
- utm_medium: Describes the medium used (e.g., email, social, CPC).
- utm_campaign: Defines the campaign name or promotion (e.g., summer_sale, product_launch).
- utm_term: Tracks specific keywords (mostly used for paid search).
- utm_content: Differentiates between similar content or links (e.g., banner_ad, text_link).
Using a UTM builder
To make things easier, you can use a UTM builder tool. Google’s Campaign URL Builder is a popular choice. Here’s a quick rundown on how to use it.
- Enter Your URL: Begin by entering the URL of the page you want to track.
- Fill in the parameters: Add values for utm_source, utm_medium, utm_campaign and any other parameters you want to track. You can fill all these fields in or just one, it’s up to you.
- Generate the URL: The tool will create a URL with UTM parameters appended. Copy and use this URL in your campaigns.
For example, if you’re running a Facebook ad promoting a blog post about summer recipes, your link with UTM parameters might appear as, “https://www.yourblog.com/summer-recipes?utm_source=facebook&utm_medium=ad&utm_campaign=summer_promo.”
Best practices for using UTM parameters
Now that you know how to create UTM parameters, let’s talk about some best practices to ensure you’re using them effectively.
Be consistent
Consistency is key when it comes to UTM parameters. Use the same naming conventions for your parameters across all campaigns to avoid confusion. For instance, if you use “email” for utm_medium in one campaign, don’t switch to “newsletter” in another.
Keep it simple
While adding every parameter under the sun might be tempting, keeping it simple will make your tracking more manageable. Stick to the core parameters (source, medium, campaign) and only add more if necessary.
Test your links
Before you launch a campaign, make sure to test your UTM links. Click on them and verify that the parameters are being tracked correctly in your analytics tool. This step helps catch any mistakes before they impact your data.
Use descriptive names
Choose descriptive names for your UTM parameters to make your reports more readable. Instead of vague names like “campaign1,” use something specific like “summer_sale” or “new_product_launch.”
Analyzing UTM data
Once your UTM parameters are set up and your campaigns are running, it’s time to dive into the data. Here’s how to make sense of it.

Accessing your data
Most analytics platforms, including Google Analytics, make it easy to view UTM data. Navigate to the Acquisition section, where you’ll find reports on source, medium and campaign performance.
Interpreting the results
Look for trends and patterns in your data. Are certain sources driving more traffic? Are some campaigns performing better than others? Use these insights to refine your strategy and focus on what works.
Making data-driven decisions
Use the data you gather to make informed decisions about your marketing efforts. For example, if Facebook ads bring in the most traffic, consider allocating more budget to that platform.
Final words
Mastering UTM parameters is like having a secret weapon in your digital marketing toolkit. By tagging your URLs with UTM parameters, you gain valuable insights into the performance of your campaigns, allowing you to make data-driven decisions and optimize your strategy. With consistent use and careful analysis, you can track your blog traffic like a pro in no time.
Jennifer Allen, co-founder of Brilliant Bloggers and Food Drink Life, is a retired professional chef and long-time writer. Her work has been featured in numerous top publications worldwide, including The Seattle Times, Morning AG Clips, Chronicle-Tribune, Los Angeles Daily News and Daily Press, among others. She manages nine personal websites and has authored two cookbooks, “Keto Soup Cookbook” and “Keto Diabetic Cookbook and Meal Plan.” These days, she’s busy in the kitchen, developing recipes for various publications and traveling. You can find all her best recipes at Cook What You Love.