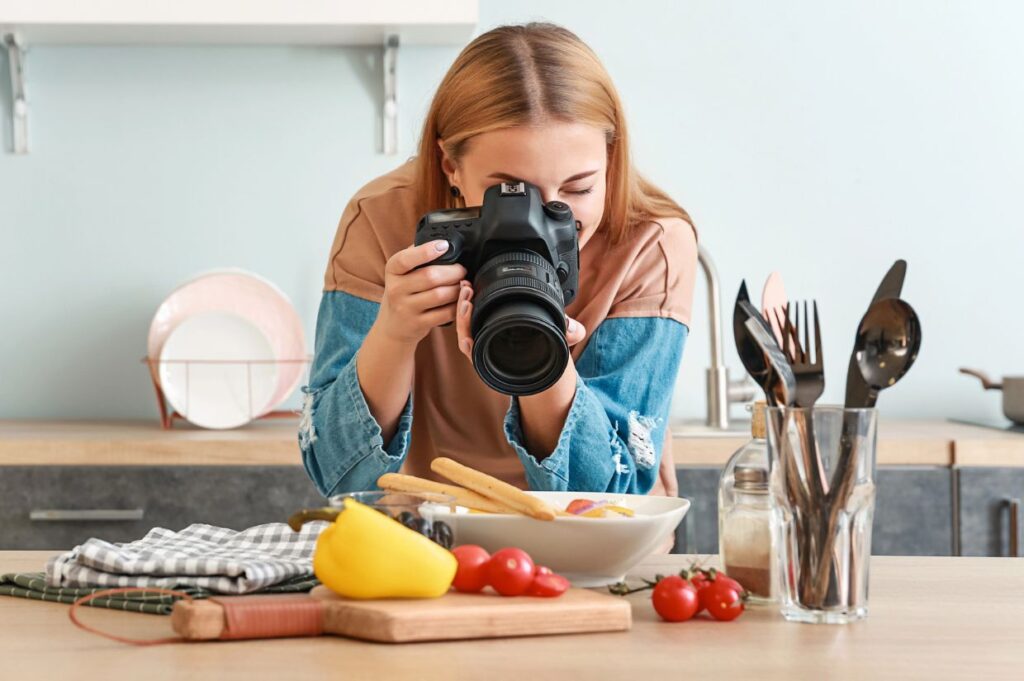
When it comes to blogging, photos aren’t just a nice extra — they’re practically essential. Whether you’re writing about food, fashion, travel or DIY projects, the right visuals can make your content pop and draw readers in like nothing else. But here’s the catch: it’s not just about snapping a quick pic with your phone and hoping for the best. There’s real art in blog photography. It can elevate your content to a whole new level when done well. Here’s how you can create visuals that truly enhance your content.
Why blog photography matters
First off, why does photography even matter for your blog? Can’t you just focus on writing and leave the photos to Depositphotos or Pixabay? While the words you write are undeniably important, visuals grab attention in ways that text simply can’t. Studies have shown that people are much more likely to engage with content that includes images, and not just any images — good ones.
Think about it: What catches your attention when scrolling through a blog or social media feed? A catchy headline helps, but a stunning image is usually the hook. A well-composed, visually appealing photo can differentiate between someone clicking on your post or moving on. And once they’ve clicked? Your photos help tell the rest of the story, guiding readers through your narrative and keeping them engaged.
The basics of great blog photography
So, how do you take your photos from “meh” to “wow”? Don’t worry — you don’t need to be a professional photographer to get it right. You can create visuals that will hook your readers with a few key principles and a little practice. Let’s start with some basics.
Lighting is everything
You’ve probably heard this one before, but it’s worth repeating: Good lighting can make or break a photo. Natural light is your best friend when it comes to blog photography. If you can, shoot near windows or even outside during the day. The soft, diffused light you get from a cloudy day is often ideal, but if you’re lucky enough to have a bright, sunny day, try shooting during the golden hours — just after sunrise or right before sunset — for that dreamy, warm glow.
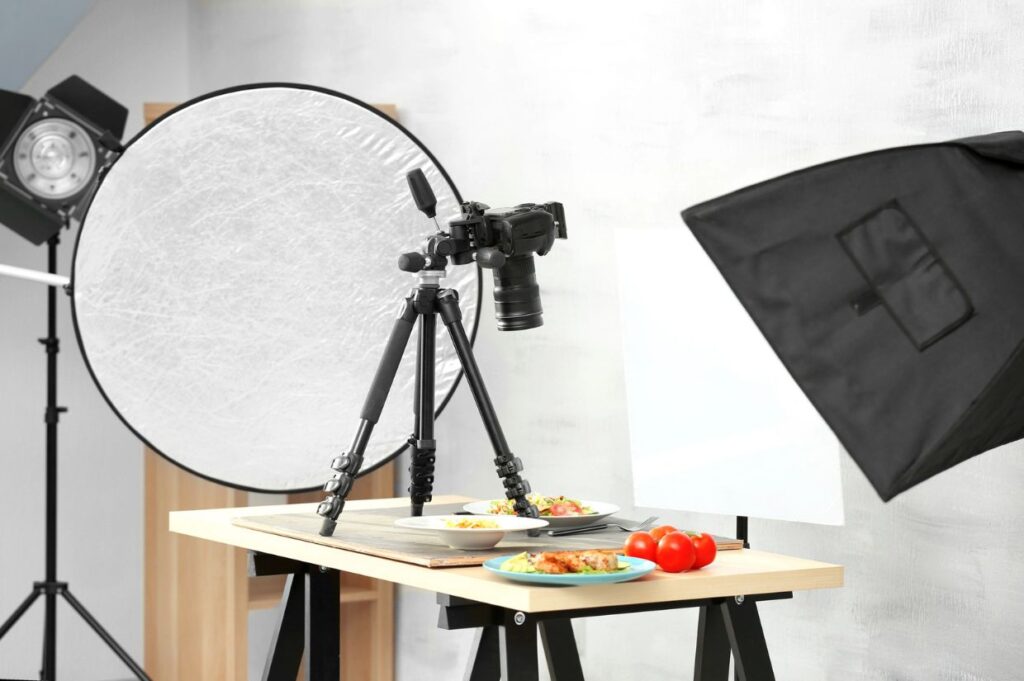
If you’re working indoors or in low-light situations, investing in some affordable lighting equipment, like a ring light or softbox, can make a world of difference. The goal is to avoid harsh shadows and get even lighting across your subject.
Composition: Rule of thirds and beyond
Composition is all about arranging the elements in your photo. A simple guideline to start with is the rule of thirds. Imagine breaking your image down into a grid with two horizontal lines and two vertical lines, creating nine sections. Try placing your subject along one of these lines or at their intersections rather than dead center. This adds balance and makes your photo more visually interesting.
Of course, rules are meant to be broken. Once you get comfortable, experiment with different angles and perspectives to see what works best for your content. An off-center or unusual composition can sometimes add a fresh, dynamic feel to your photos.
Focus and depth of field
Ever notice how professional-looking photos often have a sharp subject with a softly blurred background? That’s depth of field at work, and it’s a great way to draw attention to the most important part of your image. You don’t need a fancy DSLR camera to achieve this effect — many smartphones today have portrait mode or similar settings that blur the background while keeping your subject crisp.
Make sure your subject is in focus, though. A blurry photo can appear amateurish, while a clear, sharp image looks polished and professional.
Telling a story through your photos
Now that we’ve covered some technical aspects, let’s talk about the storytelling side of blog photography. Just like your writing, your photos should tell a story. Whether it’s a recipe, a travel guide, or a how-to post, your visuals should guide the reader through your content and make them feel connected to what you’re sharing.

Set the scene
Think about the bigger picture — literally. What’s happening around your subject? For example, if you’re photographing a dish for a food blog, don’t just snap the plate and call it a day. Add some props that tell the story of the meal. Maybe it’s a sprig of fresh herbs, a glass of wine, or a napkin folded neatly to the side. These small details give your photos context and make them feel more inviting.
For travel blogs, include not just landmarks but also the surroundings. A bustling street corner, a quiet cafe or a beautiful sunset can add layers to your story, making the reader feel like they are with you.
Show the process
People love seeing how things are made, so consider including process shots if they fit your content. Showing the step-by-step process for a DIY or recipe post can be just as engaging as the final result. Even for non-tutorial posts, behind-the-scenes or in-the-moment photos can add authenticity to your blog, making it feel more personal and relatable.
Consistency is key
One of the most overlooked aspects of blog photography is consistency. Your blog’s aesthetic should be cohesive, and your photos play a big role in that. Try to keep a consistent style throughout your blog, whether that’s through color schemes, filters or even the types of photos you take. This doesn’t mean every photo has to look the same, but maintaining a general vibe will make your blog feel more polished and professional.
Editing your photos
Once you’ve snapped the perfect shot, it’s time for a little editing magic. You don’t need to go overboard here — sometimes less is more. But a few tweaks can take your photo from good to great.
Brightness and contrast
If your photo looks a little dull, adjusting the brightness and contrast can make it pop. Be careful not to overdo it, though. You want your images to look bright and vibrant, but not washed out or overly dramatic.
Color correction
Sometimes, indoor lighting or shadows can throw off the colors in your photo. A quick color correction can fix that, making whites whiter and colors more realistic. Most photo editing apps (even free ones) have auto-correct features that do this for you.
Cropping and straightening
Don’t be afraid to crop out unnecessary background clutter or straighten a slightly tilted horizon. These small adjustments can make a big difference in how clean and professional your photo looks.
Wrapping it up
Blog photography is about enhancing your content and giving readers a richer experience. You don’t have to be a professional photographer to create beautiful visuals for your blog — just keep practicing, experimenting and finding your own style. With the right lighting, composition and a bit of storytelling, you’ll be well on your way to creating photos that not only complement your content but enhance it. Happy shooting!
Jennifer Allen, co-founder of Brilliant Bloggers and Food Drink Life, is a retired professional chef and long-time writer. Her work has been featured in numerous top publications worldwide, including The Seattle Times, Morning AG Clips, Chronicle-Tribune, Los Angeles Daily News and Daily Press, among others. She manages nine personal websites and has authored two cookbooks, “Keto Soup Cookbook” and “Keto Diabetic Cookbook and Meal Plan.” These days, she’s busy in the kitchen, developing recipes for various publications and traveling. You can find all her best recipes at Cook What You Love.